
Raspberry Pi RemoteIoT Free: Your Ultimate Guide To Setting Up And Exploring The Future Of IoT
Hey there tech enthusiasts! If you're diving into the world of IoT (Internet of Things), then you're in for a treat. Raspberry Pi RemoteIoT free is becoming a buzzword in the tech community, and it's no surprise why. This powerful little device can transform your home automation projects, robotics, and even remote monitoring systems. So, buckle up because we're about to embark on an exciting journey into the realm of Raspberry Pi and RemoteIoT!
But wait, why should you care about Raspberry Pi RemoteIoT free? Well, let me break it down for you. This setup allows you to control devices remotely, automate tasks, and build smart solutions without breaking the bank. Whether you're a hobbyist or a professional developer, Raspberry Pi offers endless possibilities. And the best part? You can do it all for free with open-source tools and software.
Now, before we dive deep into the nitty-gritty, let's set the stage. This article is designed to be your go-to guide for everything Raspberry Pi RemoteIoT free. We'll cover everything from the basics to advanced configurations, ensuring you have all the tools you need to get started. So, whether you're a beginner or a seasoned pro, there's something here for everyone!
- Hacks For Dayz Unlocking The Secrets Of Survival In A Postapocalyptic World
- Kevin James Sister A Closer Look At Her Life Career And Family
Table of Contents:
- Introduction to Raspberry Pi RemoteIoT Free
- Raspberry Pi: The Hardware You Need
- Software Setup for RemoteIoT
- Free Tools and Resources for Raspberry Pi
- Step-by-Step Guide to Setting Up RemoteIoT
- Cool Projects with Raspberry Pi RemoteIoT
- Optimizing Your RemoteIoT Setup
- Security Tips for Your Raspberry Pi
- Troubleshooting Common Issues
- The Future of Raspberry Pi RemoteIoT
Introduction to Raspberry Pi RemoteIoT Free
Alright, let's start with the basics. What exactly is Raspberry Pi RemoteIoT free? Simply put, it's a combination of a Raspberry Pi device and an IoT framework that allows you to control and monitor devices remotely. The "free" part comes into play when you use open-source software and tools, which eliminates the need for expensive licenses or subscriptions.
Raspberry Pi has been around for quite some time now, and its popularity only continues to grow. It's a tiny computer that packs a punch, capable of running a variety of operating systems and applications. When paired with IoT technologies, it becomes a powerhouse for smart home automation, industrial monitoring, and more.
- Who Is Josh Gates Married To Now The Untold Story
- Violet Summers Real Name Unveiling The Mystery Behind The Social Media Sensation
Why Choose Raspberry Pi for RemoteIoT?
There are plenty of reasons why Raspberry Pi stands out in the world of IoT. Here are just a few:
- Cost-effective: Raspberry Pi is affordable, making it accessible to hobbyists and professionals alike.
- Versatile: It supports a wide range of operating systems and programming languages, giving you flexibility in your projects.
- Community Support: With a massive community of developers, you'll never run out of resources or help.
- Scalable: Whether you're building a small project or a large-scale system, Raspberry Pi can adapt to your needs.
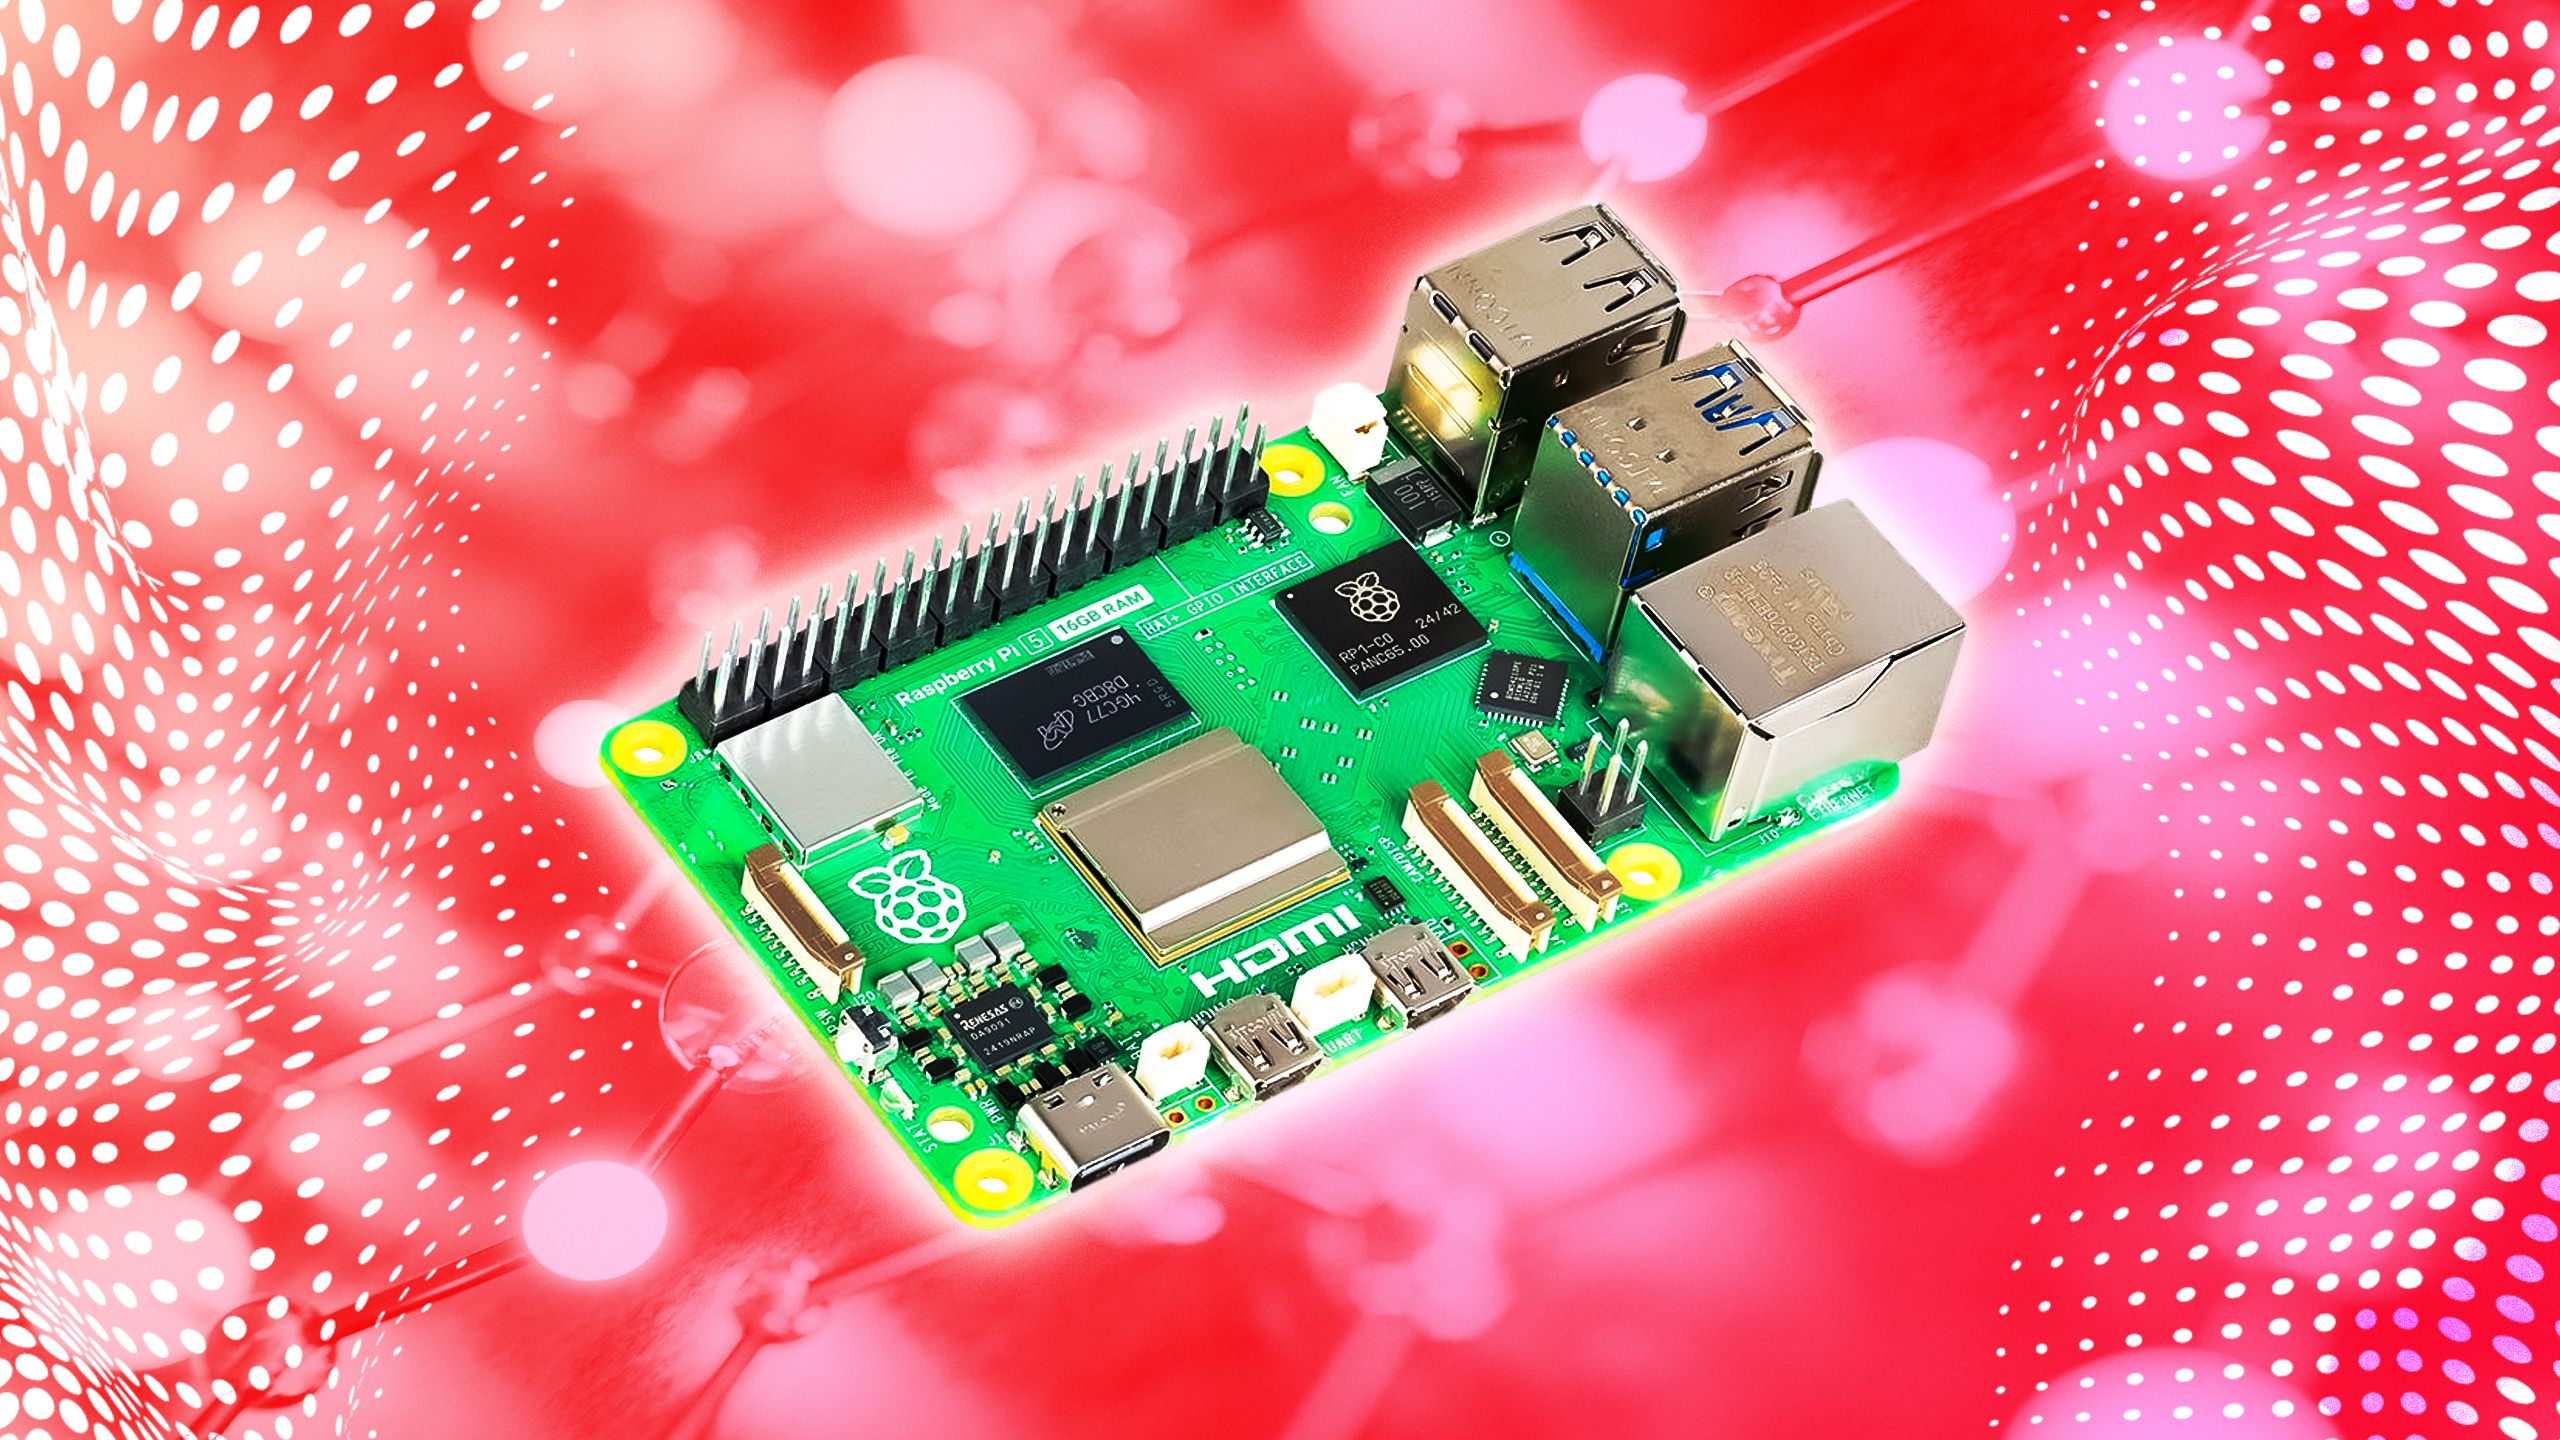
Raspberry Pi: The Hardware You Need
Before you can start setting up your Raspberry Pi RemoteIoT free, you'll need the right hardware. Don't worry, it's not as complicated as it sounds. Here's a quick rundown of what you'll need:
Essential Components
- Raspberry Pi Board (any model will do, but Pi 4 is recommended for better performance)
- MicroSD Card (at least 16GB, preferably 32GB or higher)
- Power Supply (official Raspberry Pi power adapter or a compatible USB-C charger)
- Wi-Fi Dongle (if your Pi model doesn't have built-in Wi-Fi)
- Ethernet Cable (optional, for wired internet connection)
Optional Accessories
- Cases: Protect your Pi from dust and damage.
- Heat Sinks: Keep your Pi cool during heavy usage.
- Camera Module: For projects involving video surveillance or photography.
- Sensors: Temperature, humidity, motion sensors, etc., depending on your project needs.
Software Setup for RemoteIoT
Once you've got your hardware sorted, it's time to move on to the software side of things. Setting up Raspberry Pi RemoteIoT free involves installing the right operating system and configuring the necessary software.
Choosing the Right OS
For most IoT projects, Raspberry Pi OS is the way to go. It's lightweight, stable, and comes with a lot of pre-installed tools that make development easier. However, if you're working on more specialized projects, you might want to consider other options like:
- Ubuntu Core
- ResinOS
- OpenWrt
Configuring RemoteIoT
Once your OS is installed, you'll need to configure it for RemoteIoT. This involves setting up SSH (Secure Shell) for remote access, configuring Wi-Fi, and installing any additional software or libraries your project requires.
Pro tip: Use tools like Pi-hole for ad-blocking and network monitoring to enhance your setup.
Free Tools and Resources for Raspberry Pi
One of the best things about Raspberry Pi RemoteIoT free is the abundance of free tools and resources available. Here are a few that you should definitely check out:
Programming Languages
- Python: Perfect for beginners and advanced users alike, Python is widely used in IoT projects.
- C++: For more performance-critical applications, C++ is a great choice.
- Node-RED: A visual programming tool that makes it easy to wire together hardware devices, APIs, and online services.
Development Platforms
- GitHub: Host your code and collaborate with others.
- Adafruit Learning System: Tons of tutorials and guides for Raspberry Pi projects.
- Raspberry Pi Forums: A community-driven platform where you can ask questions and share your projects.
Step-by-Step Guide to Setting Up RemoteIoT
Now that you have all the necessary components and tools, let's walk through the setup process step-by-step.
Step 1: Install the Operating System
Use the Raspberry Pi Imager tool to install your chosen OS onto the microSD card. This process is straightforward and shouldn't take more than a few minutes.
Step 2: Configure Wi-Fi and SSH
Create a file called "ssh" (no extension) in the boot partition of your SD card to enable SSH. Similarly, create a file called "wpa_supplicant.conf" to configure Wi-Fi settings.
Step 3: Connect to Your Pi
Once your Pi is up and running, use an SSH client like PuTTY (Windows) or Terminal (Mac/Linux) to connect to it remotely.
Step 4: Install Necessary Software
Depending on your project, you might need to install additional software. For example, if you're working on a home automation project, you might want to install Home Assistant.
Cool Projects with Raspberry Pi RemoteIoT
Now that you've got your setup ready, it's time to start building some cool projects. Here are a few ideas to get you started:
Smart Home Automation
Use Raspberry Pi RemoteIoT free to control lights, thermostats, and other smart devices in your home. You can even set up voice control using tools like Alexa or Google Assistant.
Remote Weather Station
Build a weather station that collects data from sensors and sends it to a remote server for analysis. This project is perfect for learning about data collection and visualization.
Security Camera System
Set up a security camera system using Raspberry Pi and a camera module. With remote access, you can monitor your home or office from anywhere in the world.
Optimizing Your RemoteIoT Setup
Once your project is up and running, it's important to optimize your setup for performance and efficiency. Here are a few tips:
Regular Updates
Keep your OS and software up to date to ensure security and stability. Use the "sudo apt update" and "sudo apt upgrade" commands to update your system.
Monitor Resource Usage
Use tools like htop or glances to monitor CPU, memory, and disk usage. This will help you identify and fix any performance issues.
Security Tips for Your Raspberry Pi
Security is a critical aspect of any IoT project. Here are a few tips to keep your Raspberry Pi RemoteIoT free setup secure:
Change Default Credentials
Always change the default username and password for your Pi. Use strong, unique passwords to prevent unauthorized access.
Enable Firewall
Use tools like UFW (Uncomplicated Firewall) to control incoming and outgoing traffic. This adds an extra layer of security to your setup.
Troubleshooting Common Issues
Even the best-laid plans can go awry sometimes. Here are a few common issues you might encounter and how to fix them:
SSH Not Working
Make sure the "ssh" file is present in the boot partition. Also, check your network settings to ensure your Pi is connected to the internet.
Slow Performance
If your Pi is running slow, try disabling unnecessary services or upgrading to a more powerful model like the Pi 4.
The Future of Raspberry Pi RemoteIoT
The possibilities with Raspberry Pi RemoteIoT free are endless. As technology continues to evolve, we can expect even more exciting developments in the IoT space. From smarter homes to more efficient industrial systems, Raspberry Pi is leading the way.
So, what are you waiting for? Grab your Raspberry Pi, dive into the world of RemoteIoT, and start building the future today!
Final Thoughts
In conclusion, Raspberry Pi RemoteIoT free offers a powerful and cost-effective solution for IoT enthusiasts. By following the steps outlined in this guide, you can set up and explore the endless possibilities of this amazing technology. Remember to always keep learning and experimenting, as that's where the real magic happens!
Don't forget to share your projects and experiences in the comments below. And if you found this article helpful, be sure to check out our other guides and tutorials. Happy building!
Article Recommendations
- Comedian Gabriel Iglesias Net Worth How The Fluffy King Built His Empire
- Selena Vargas The Rising Star Redefining Latin Pop


Detail Author:
- Name : Prof. Theron Funk
- Username : okon.hope
- Email : hayes.vicky@hotmail.com
- Birthdate : 1974-06-06
- Address : 8974 Boehm Ports Marquardtshire, OR 15531-3569
- Phone : (847) 249-6824
- Company : Prohaska-Ritchie
- Job : Log Grader and Scaler
- Bio : Ex tempora consequuntur et expedita. Placeat molestias ut autem reprehenderit nostrum maxime ut dolorem. Ratione ducimus explicabo atque explicabo illo aliquid.
Socials
twitter:
- url : https://twitter.com/rogers_kautzer
- username : rogers_kautzer
- bio : Placeat quod et omnis numquam eaque. Enim deleniti velit dignissimos neque ipsam. Occaecati quasi sequi ea fuga alias.
- followers : 5559
- following : 2399
instagram:
- url : https://instagram.com/rogers_id
- username : rogers_id
- bio : Error veniam fugit pariatur eos. Quisquam delectus nam voluptate soluta similique iste.
- followers : 2311
- following : 2174
tiktok:
- url : https://tiktok.com/@rogers5264
- username : rogers5264
- bio : Illum eum error voluptatem dolores saepe ut quisquam.
- followers : 6092
- following : 2518
