
Free Remote IoT Monitoring With Raspberry Pi: A Beginner's Guide
Hey there, tech enthusiasts! If you've been diving into the world of IoT (Internet of Things) and wondering how to set up free remote IoT monitoring with Raspberry Pi, you're in the right place. Imagine having the ability to monitor your devices, sensors, or even your home from anywhere in the world without breaking the bank. Sounds cool, right? Well, it's not only possible but also surprisingly easy if you know where to start. So, buckle up and let's explore how you can make this happen!
Let’s face it, setting up remote monitoring can seem intimidating, especially if you’re new to the tech game. But with the right tools and a little bit of guidance, anyone can pull it off. The Raspberry Pi is not just a tiny computer; it’s a powerhouse for DIY projects, especially when it comes to IoT. This article will walk you through everything you need to know to get started with free remote monitoring using Raspberry Pi. Trust me, by the end of this, you’ll feel like a pro.
Before we dive deeper, let’s quickly address why this setup is worth your time. Free remote IoT monitoring isn’t just about saving money—it’s about gaining control and flexibility. Whether you’re monitoring environmental conditions, managing smart home devices, or keeping an eye on industrial equipment, having a reliable and cost-effective solution is key. And guess what? Raspberry Pi delivers exactly that. Now, let’s roll up our sleeves and get to work!
- Taylor Fritz Divorce The Full Story Behind The Split
- Knight Melendez The Rising Star Redefining Entertainment
What is Remote IoT Monitoring?
Alright, let’s break it down. Remote IoT monitoring is all about keeping tabs on your connected devices and sensors from afar. It’s like having eyes and ears everywhere without physically being there. With IoT devices, you can collect data, analyze trends, and take action—all remotely. And when you throw Raspberry Pi into the mix, things get even more exciting.
Raspberry Pi is a single-board computer that’s compact, affordable, and super versatile. It’s perfect for hobbyists, students, and even professionals who want to experiment with IoT projects. By combining Raspberry Pi with free software solutions, you can create a robust remote monitoring system without spending a fortune on expensive hardware or subscriptions.
Why Choose Raspberry Pi for IoT Monitoring?
Here’s the deal: Raspberry Pi isn’t just any gadget. It’s a tiny powerhouse packed with features that make it ideal for IoT projects. First off, it’s incredibly affordable, which is a huge plus if you’re on a budget. Plus, it supports a wide range of operating systems and programming languages, giving you the flexibility to customize your setup however you want.
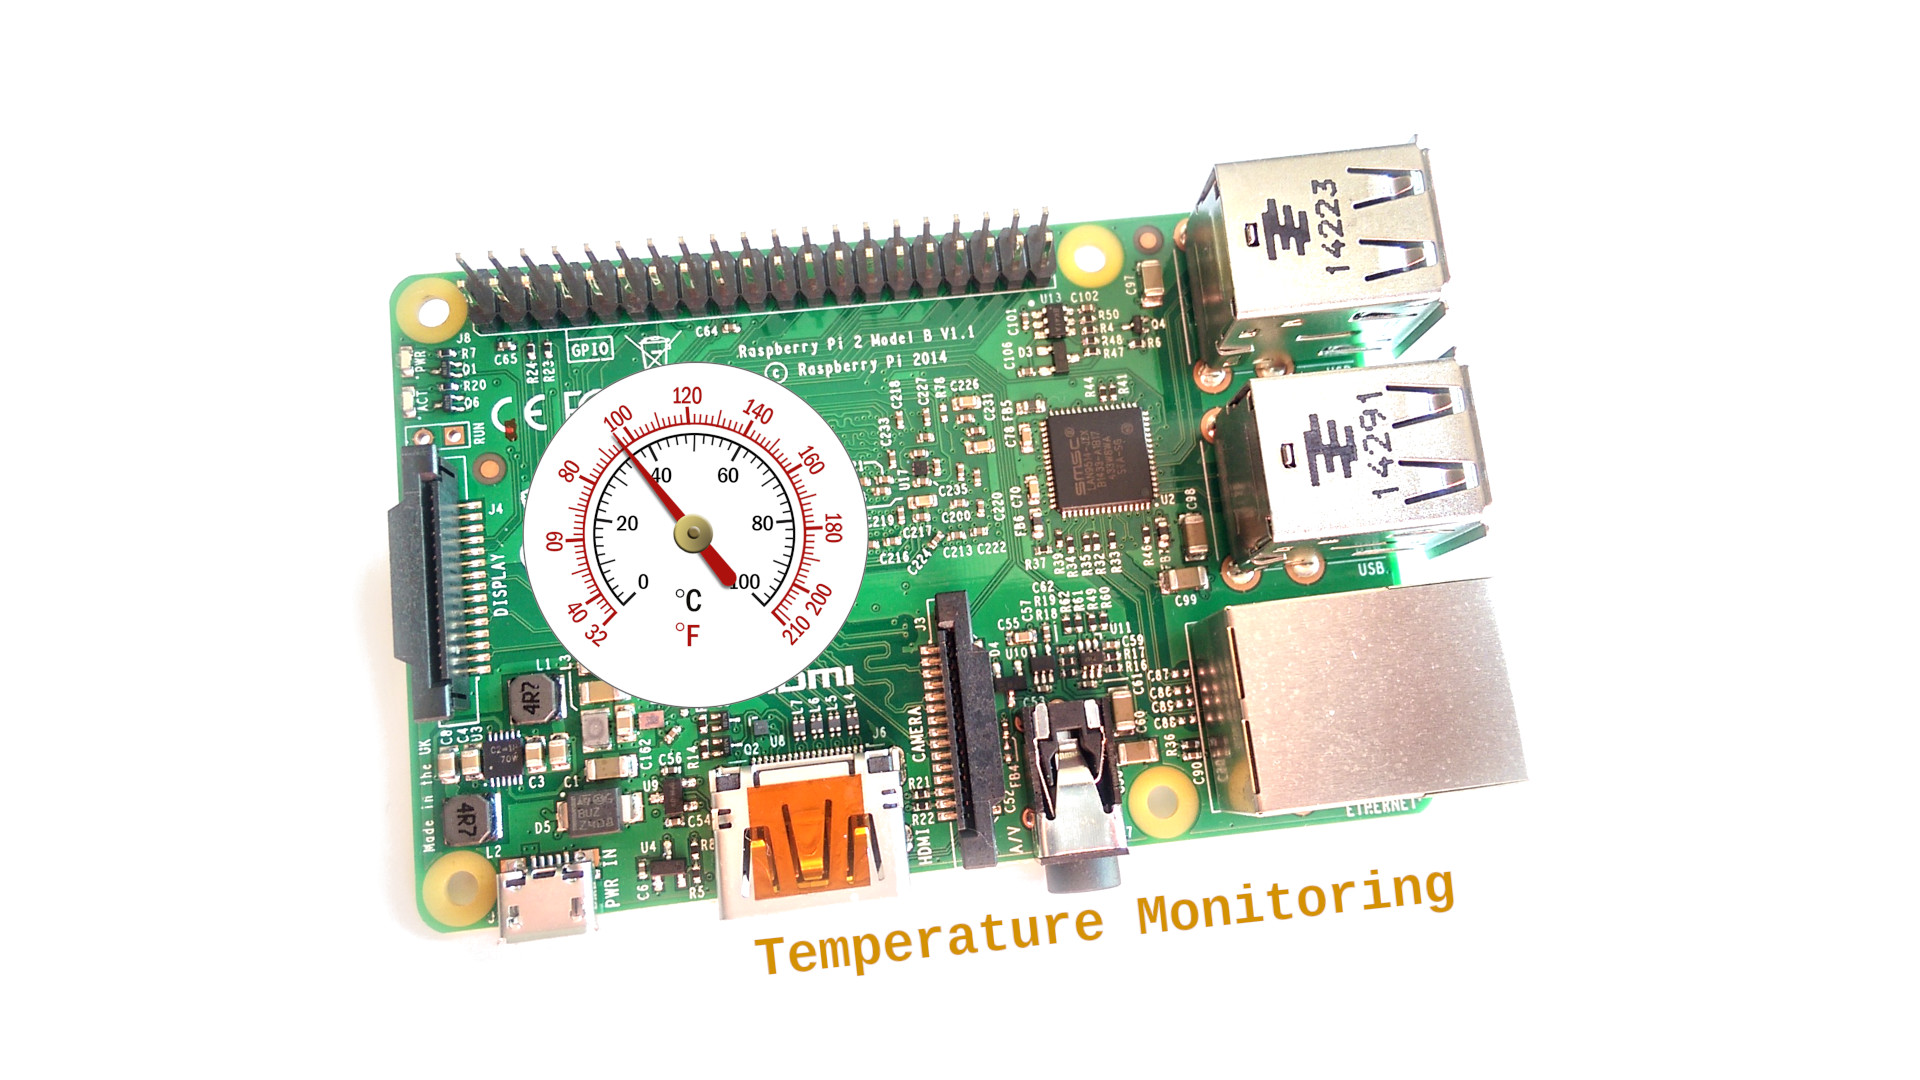
Another awesome feature? Raspberry Pi has GPIO (General Purpose Input/Output) pins that allow you to connect various sensors and devices. This means you can monitor everything from temperature and humidity to motion and light levels. And with its low power consumption, you can run it 24/7 without worrying about skyrocketing electricity bills.
Setting Up Your Raspberry Pi for Free Remote Monitoring
Now that you know why Raspberry Pi is the way to go, let’s talk about how to set it up for remote IoT monitoring. The process might sound complicated, but trust me, it’s pretty straightforward once you break it down into steps. Here’s what you’ll need:
- A Raspberry Pi board (any model will do)
- A microSD card with Raspberry Pi OS installed
- A power supply for your Raspberry Pi
- Sensors or devices you want to monitor
- An internet connection
Once you’ve gathered your materials, the next step is to install the necessary software. You can use tools like InfluxDB for data storage, Grafana for visualization, and Telegraf for data collection. These are all free and open-source, so no hidden costs here!
Step-by-Step Setup Guide
Let’s walk through the setup process step by step:
- Install Raspberry Pi OS on your microSD card. You can use the Raspberry Pi Imager tool for this.
- Boot up your Raspberry Pi and connect it to your Wi-Fi network.
- Install InfluxDB by running the command
sudo apt install influxdb. - Install Telegraf using
sudo apt install telegraf. - Set up Grafana with
sudo apt install grafana. - Configure your sensors and devices to send data to InfluxDB.
- Create dashboards in Grafana to visualize your data.
And there you have it! Your Raspberry Pi is now ready to start collecting and displaying data from your IoT devices.
Choosing the Right Sensors for Your Project
Picking the right sensors is crucial for any IoT monitoring project. Depending on what you want to monitor, you’ll need different types of sensors. Here are some common ones you might consider:
- Temperature and Humidity Sensors: Perfect for monitoring environmental conditions.
- Motion Sensors: Ideal for security applications or tracking movement.
- Light Sensors: Great for monitoring lighting levels or automating smart home devices.
- Pressure Sensors: Useful for industrial applications or weather monitoring.
When choosing sensors, make sure they’re compatible with Raspberry Pi and have good documentation or community support. This will save you a lot of headaches in the long run.
Securing Your Remote IoT Monitoring System
Security should always be a top priority when setting up remote monitoring. After all, you don’t want unauthorized access to your data or devices. Here are a few tips to keep your system secure:
- Change the default passwords for your Raspberry Pi and any connected devices.
- Enable SSH (Secure Shell) for remote access and use strong encryption.
- Set up a firewall to block unwanted traffic.
- Regularly update your software and firmware to patch any vulnerabilities.
By following these simple steps, you can ensure that your remote IoT monitoring system is both functional and secure.
Using SSH for Secure Remote Access
SSH is a protocol that allows you to securely access your Raspberry Pi from another computer. To enable SSH, simply run the command sudo raspi-config and navigate to the SSH option. Once enabled, you can connect to your Raspberry Pi using an SSH client like PuTTY or Terminal.
For an extra layer of security, consider using SSH keys instead of passwords. This way, even if someone manages to guess your password, they won’t be able to access your system without the key.
Visualizing Your Data with Grafana
Grafana is a powerful tool for visualizing your IoT data. With its intuitive interface and customizable dashboards, you can create beautiful charts and graphs that make your data easy to understand. Plus, it integrates seamlessly with InfluxDB, so you don’t have to worry about compatibility issues.
Here’s how you can set up Grafana:
- Install Grafana on your Raspberry Pi using
sudo apt install grafana. - Start the Grafana service with
sudo systemctl start grafana-server. - Open your web browser and navigate to
http://your-pi-ip:3000. - Log in with the default credentials (admin/admin) and change your password immediately.
- Add your InfluxDB data source and start building dashboards.
With Grafana, you can turn raw data into actionable insights in no time!
Cost-Effective Alternatives to Commercial Solutions
One of the biggest advantages of using Raspberry Pi for remote IoT monitoring is the cost savings. Commercial solutions can be expensive, especially if you need to monitor multiple devices or locations. With Raspberry Pi, you can build a fully functional monitoring system for a fraction of the cost.
Here are some cost-effective alternatives to consider:
- Node-RED: A visual programming tool for wiring together hardware devices, APIs, and online services.
- Home Assistant: An open-source home automation platform that works great with Raspberry Pi.
- Mosquitto: A lightweight messaging broker for MQTT communication.
By leveraging these tools, you can create a robust monitoring system without spending a dime on proprietary software.
Comparing Raspberry Pi with Other IoT Platforms
While Raspberry Pi is an excellent choice for IoT projects, it’s not the only option out there. Here’s how it stacks up against other popular platforms:
- Arduino: Great for simple projects but lacks the processing power of Raspberry Pi.
- ESP32/ESP8266: Excellent for wireless communication but not as versatile as Raspberry Pi.
- BeagleBone: Similar to Raspberry Pi but with a smaller community and fewer resources.
Ultimately, the choice depends on your specific needs and preferences. But for most people, Raspberry Pi strikes the perfect balance between power, flexibility, and affordability.
Common Challenges and How to Overcome Them
Like any tech project, setting up remote IoT monitoring with Raspberry Pi can come with its fair share of challenges. Here are some common issues you might encounter and how to solve them:
- Connection Problems: Make sure your Raspberry Pi is properly connected to your Wi-Fi network. You can also try using an Ethernet cable for a more stable connection.
- Data Loss: Regularly back up your data and use redundant storage solutions to prevent data loss.
- Software Issues: Keep your software up to date and consult the official documentation if you run into any problems.
By being prepared for these challenges, you can minimize downtime and ensure your system runs smoothly.
Future Trends in IoT Monitoring
The world of IoT is evolving rapidly, and new technologies are emerging all the time. Some trends to watch out for include:
- Edge Computing: Processing data closer to the source for faster insights.
- AI Integration: Using artificial intelligence to analyze and predict trends in your data.
- 5G Connectivity: Faster and more reliable connections for real-time monitoring.
By staying ahead of these trends, you can future-proof your IoT monitoring setup and take advantage of the latest advancements in the field.
How Raspberry Pi Fits into the Future of IoT
Raspberry Pi continues to be a popular choice for IoT projects, thanks to its affordability, flexibility, and strong community support. As new technologies emerge, Raspberry Pi is likely to adapt and evolve to meet the changing demands of the IoT landscape. Whether you’re a hobbyist or a professional, there’s no denying the impact Raspberry Pi has had on the world of IoT.
Conclusion: Take Your IoT Projects to the Next Level
And there you have it, folks! Setting up free remote IoT monitoring with Raspberry Pi is easier than you might think. By following the steps outlined in this article, you can create a powerful and cost-effective monitoring system that meets your needs. Remember to prioritize security, choose the right sensors, and keep an eye on emerging trends in the IoT space.
So, what are you waiting for? Grab your Raspberry Pi, gather your sensors, and start building your dream IoT monitoring setup. And don’t forget to share your experience in the comments below or check out our other articles for more tips and tricks. Happy hacking!
Table of Contents
What is Remote IoT Monitoring?
Why Choose Raspberry Pi for IoT Monitoring?
Setting Up Your Raspberry Pi for Free Remote Monitoring
Choosing the Right Sensors for Your Project
Securing Your Remote IoT Monitoring System
Visualizing Your Data with Grafana
Cost-Effective Alternatives to Commercial Solutions
Common Challenges and How to Overcome Them
Article Recommendations
- Cracking The Code Showing Respect Crossword Clue
- Dermot Mulroney Son The Rising Star In Hollywoods Next Generation


Detail Author:
- Name : Ms. Mara Sanford
- Username : kutch.noemie
- Email : feeney.halle@hotmail.com
- Birthdate : 1980-03-23
- Address : 36897 Hane Glen Suite 484 Mertzbury, NJ 20094
- Phone : (859) 587-0144
- Company : Crona-Schuppe
- Job : Coil Winders
- Bio : Sapiente voluptas dolores dicta velit sit et. Aliquam dolor quas ad a dignissimos quas. Aut aut eos vero molestiae.
Socials
twitter:
- url : https://twitter.com/gibson1988
- username : gibson1988
- bio : Et sed non ut enim excepturi repellat. Eaque voluptates aliquid recusandae.
- followers : 6651
- following : 302
linkedin:
- url : https://linkedin.com/in/danielle4278
- username : danielle4278
- bio : Earum unde tenetur voluptas iure.
- followers : 4063
- following : 2558
facebook:
- url : https://facebook.com/dgibson
- username : dgibson
- bio : Facere aspernatur non et ullam.
- followers : 5192
- following : 844
instagram:
- url : https://instagram.com/dgibson
- username : dgibson
- bio : Soluta doloremque et aut fugiat et corrupti magnam. Inventore vel ex vitae velit.
- followers : 541
- following : 2588
